


Table of Contents
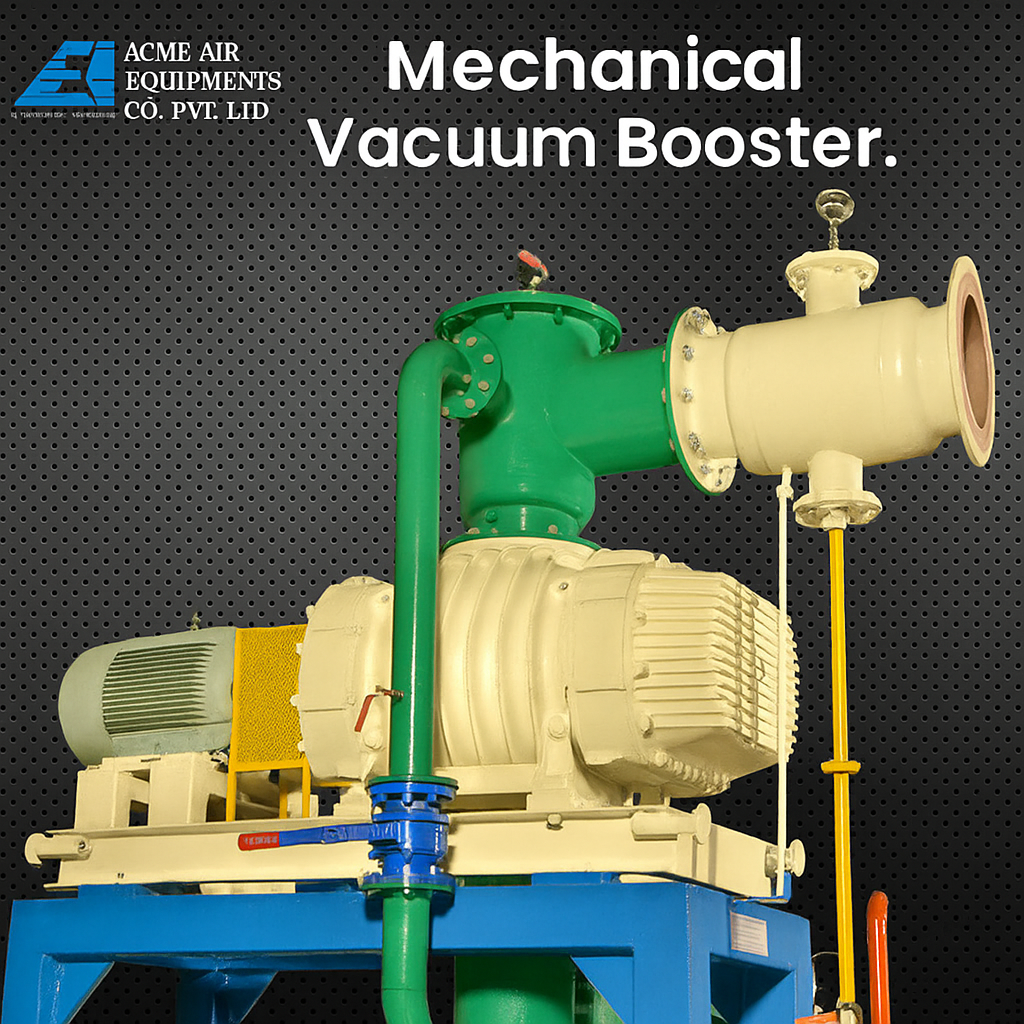
Installing a mechanical vacuum booster is a critical process in industries that rely on high-efficiency air compression for various applications, such as distillation, degassing and semiconductor processing. The installation of a roots vacuum booster should be handled with care, as it involves precise setup to ensure optimal performance. Whether you’re installing a high-speed vacuum booster, following the correct procedure will enhance the performance, energy efficiency and longevity of the equipment.
This step-by-step guide will walk you through the process of installing a mechanical vacuum booster, covering everything from pre-installation checks to system integration.
Prepare the Installation Site
Before you begin the installation of your mechanical vacuum booster, it is essential to prepare the installation site. The location should be well-ventilated, clean and easily accessible for maintenance.
Site Requirements:
- Space: Ensure the installation area provides adequate space for the vacuum booster system and allows easy access to the equipment for maintenance and inspections.
- Ventilation: Proper ventilation is required to maintain the cooling of the vacuum booster system. Some systems may require forced air ventilation or an external cooling system.
- Foundation: The system should be installed on a level and stable foundation to prevent vibrations during operation. For larger systems, a reinforced concrete base may be needed.
- Environmental Conditions: The site should be free from excessive dust, moisture or corrosive materials, as these can impact the performance of the mechanical vacuum pumps.
Unbox and Inspect Components
Once the vacuum booster system arrives at the installation site, carefully unbox all components, including the roots vacuum booster, piping, filters, valves and electrical parts. Inspect each item for damage, such as dents or scratches and verify that all necessary components are included.
Inspection Checklist:
- Mechanical vacuum booster unit (check for any physical damage)
- Primary pump (ensure compatibility with the booster)
- Piping and connections (check for any signs of wear or damage)
- Valves and filters (verify specifications and condition)
- Electrical components (ensure wiring and instrumentation are intact)
This step ensures that everything needed for installation is in good condition and ready to be assembled.

Position the Mechanical Vacuum Booster
With the inspection complete, begin positioning the mechanical vacuum booster at the designated installation site. Depending on the model, you may have an air-cooled or water-cooled.
Positioning Guidelines:
- Alignment: Align the vacuum booster system in a way that facilitates easy connection to the primary pump, power supply and other system components.
- Leveling: Ensure the vacuum booster is perfectly level to prevent stress on internal components and to reduce vibration.
- Clearance: Leave sufficient space around the unit for air circulation and servicing. It is recommended to allow at least 12 inches of clearance on all sides of the unit.
Install the Primary Pump and Auxiliary Components
The mechanical vacuum booster works in tandem with the primary pump to achieve the desired vacuum level. The primary pump is crucial as it provides the initial vacuum pressure, which the vacuum booster system amplifies.
Installation of the Primary Pump:
- Position the Primary Pump: Place the primary pump next to the vacuum booster while ensuring that the inlet and outlet ports align correctly for seamless connection.
- Connection to the Booster: Connect the primary pump’s output port to the vacuum booster system using the appropriate piping. Ensure that all connections are tight and leak-free.
- Install Auxiliary Equipment: If required, connect additional components such as filters, condensers and valves to the system. These components help control the airflow and pressure in the system.
Electrical Connections and Control System Setup
The next step in the installation is setting up the electrical connections for the Mechanical Vacuum Booster. Proper electrical integration is critical to ensure that the system operates smoothly and is controlled efficiently.
Electrical Setup:
- Power Supply: Ensure the system is connected to a dedicated power supply that meets the voltage and current requirements specified by the manufacturer.
- Wiring: Install wiring according to the wiring diagram provided. Properly ground all electrical components to prevent short circuits or electrical hazards.
- Control System: Integrate the system with the appropriate control mechanisms, such as pressure and vacuum sensors, to monitor the performance of the mechanical vacuum pumps. These sensors allow for real-time adjustments to optimize efficiency.
Connect the Exhaust and Cooling Systems
Some roots vacuum boosters require cooling to maintain optimal performance. Depending on your system configuration, you may need to connect water-cooling lines or ensure that the air-cooling system is in place.
Cooling System Installation:
- Water Cooling: For water-cooled models, connect the cooling water lines to the designated inlet and outlet ports on the vacuum boosters.
- Air Cooling: For air-cooled systems, make sure that the vacuum booster system is positioned in a well-ventilated area to allow efficient heat dissipation.
- Exhaust Piping: Install the exhaust system, ensuring that gases and vapors are safely vented out of the facility. Use corrosion-resistant pipes to handle exhaust gases effectively.
Conduct a Leak Test and System Check
Before putting the system into operation, it’s essential to perform a thorough leak test and system check. This will ensure that all components are functioning correctly and that the system operates as expected.
System Testing:
- Leak Test: Pressurize the system and check for leaks around all connections, including piping, valves and seals. Use a soapy water solution or leak detection sprays to identify any air or gas leaks.
- Test Vacuum Levels: Start the booster system and monitor the vacuum levels to ensure they meet the desired specifications. Adjust settings as necessary to achieve optimal performance.
- Check for Vibration: Ensure that the mechanical vacuum booster is operating smoothly without excessive vibration or noise, which could indicate installation issues.
Final Adjustment and Calibration
Once the system has passed the leak test and performance checks, make any final adjustments to optimize its operation. Calibration of sensors and the control system may be necessary to ensure the mechanical vacuum system is operating efficiently and within the required parameters.
Adjustment Guidelines:
- Pressure and Flow: Calibrate the vacuum pressure and flow rate using the system’s control panel or automation system. Make sure the system operates within the designated parameters.
- Fine-tuning: Adjust the system settings to optimize performance, considering factors such as load conditions and operational requirements.

Start the System and Monitor Operation
Finally, start the vacuum booster and allow it to run under normal operating conditions. It is essential to monitor the system for the first few hours to ensure there are no issues.
Post-Start Monitoring:
- System Stability: Monitor system pressure, vacuum levels and motor temperature to ensure the system is stable.
- Routine Checks: Perform routine checks for any unusual vibrations, leaks or performance deviations.
Conclusion
Installing a mechanical vacuum booster involves several critical steps to ensure optimal performance, safety and longevity of the system. By carefully following the installation process outlined in this guide, you can ensure that your vacuum booster system operates efficiently and meets your specific industrial requirements. From preparing the installation site to conducting final checks, each step is essential for a successful installation.
Once the mechanical vacuum booster is set up, it will provide enhanced efficiency, reliability and performance in your industrial processes, helping to achieve the desired vacuum conditions while reducing energy consumption.
FAQs about Mechanical Vacuum Booster
What is a mechanical vacuum booster?
A mechanical vacuum booster is a device used to enhance the performance of a vacuum system by amplifying the vacuum pressure generated by the primary pump, providing faster and more efficient operations.
How do I know if my mechanical vacuum booster is installed correctly?
To verify correct installation, conduct a leak test, monitor the vacuum levels and check for proper alignment and vibration-free operation after the system starts.
What is the role of the primary pump in a vacuum booster system?
The primary pump generates the initial vacuum pressure, which the mechanical vacuum booster amplifies to achieve the desired vacuum levels in the system.
Can I install a mechanical vacuum booster on my own?
Yes, as long as you follow the proper procedures outlined in the installation guide and ensure that all components are correctly aligned and connected, the installation can be done independently.
What maintenance is required after installing a mechanical vacuum booster?
Regular maintenance includes checking for leaks, monitoring system performance, cleaning filters and ensuring that cooling systems are functioning properly to maintain efficiency.
About Author

CEO
Mr. Vishwesh Pardeshi is the CEO of Acme Air Equipments Company Pvt. Ltd., an industrial and engineering goods manufacturing company based in Ahmedabad, Gujarat (India). He has taken over the responsibility from founding Partners and Directors of the Company, and is now leading a talented group of professionals since 2020 by bringing in vast industrial and management expertise. By qualification, he holds a Bachelor Degree in Mechanical Engineering and also holds a MBA degree from reputed institutes. Under his leadership, the Company has successfully executed prestigious projects by delivering high quality and world class products from a state of the art manufacturing facility which combines CNC-enabled precision manufacturing and strong after sales support. In line with the Vision, Mission and Core Values of the Organization, Mr. Vishwesh Pardeshi continues to drive Quality, Reliability and Global Expansion at Acme Air Equipments Co. Pvt. Ltd.